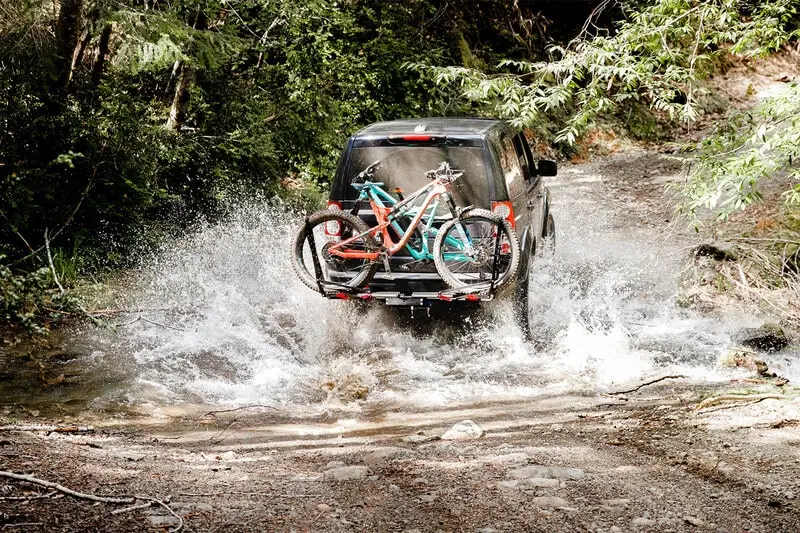
Packing for a weekend ride should be the easy part, right? Bikes on the rack, bags in the back, playlist queued up. But the second you hit the road—wobble wobble. Then comes the clanking, creaking, that awful metal-on-metal chatter. It’s like your rack is throwing a tantrum back there. Been there. I used to white-knuckle the steering wheel every time I heard a new noise.
For a while, I thought it was just part of the deal with hitch-mounted bike racks. Turns out, it's not. Most of the time, it's just a few small things out of place—loose bolts, wrong fit, or just missing a $15 part. The fix? Surprisingly simple.
So if you’re sick of turning up the music to drown out the noise or pulling over every hour to check your setup, you’re in the right place. Here’s how I finally silenced the wobble—and how you can, too.
Check Your Hitch Fit
Most problems start right here—where the rack meets the hitch.
A sloppy fit between your rack and the receiver is often the main reason for all that rattling. If the rack jiggles when you're standing still, imagine what it does at 60 mph.
Not All Hitches Are Created Equal
2-Inch vs. 1.25-Inch: It Matters More Than You Think
When I got my first hitch rack, I didn’t even realize there were different sizes. Rookie mistake. Some racks include adaptors, but even then—it’s not always a perfect match. You’ve got to test it.
|
Hitch Size |
Typical Vehicles |
Fit & Stability |
|---|---|---|
|
2-Inch |
SUVs, Pickup Trucks |
Snug and sturdy |
|
1.25-Inch |
Sedans, Small Cars |
Can be wobbly—needs help |
Do This Simple Fit Test
Slide the rack into the hitch. Now, try moving it side to side. If it clanks, it’s too loose. That little movement turns into a big problem when you’re on the highway. You’ll want to tighten it up—whether with a hitch pin, a bolt, or something better (we’ll talk about that next).
I’ve had drives where I had to pull over halfway just to fix it because I ignored that first wobble. Don’t be like me.
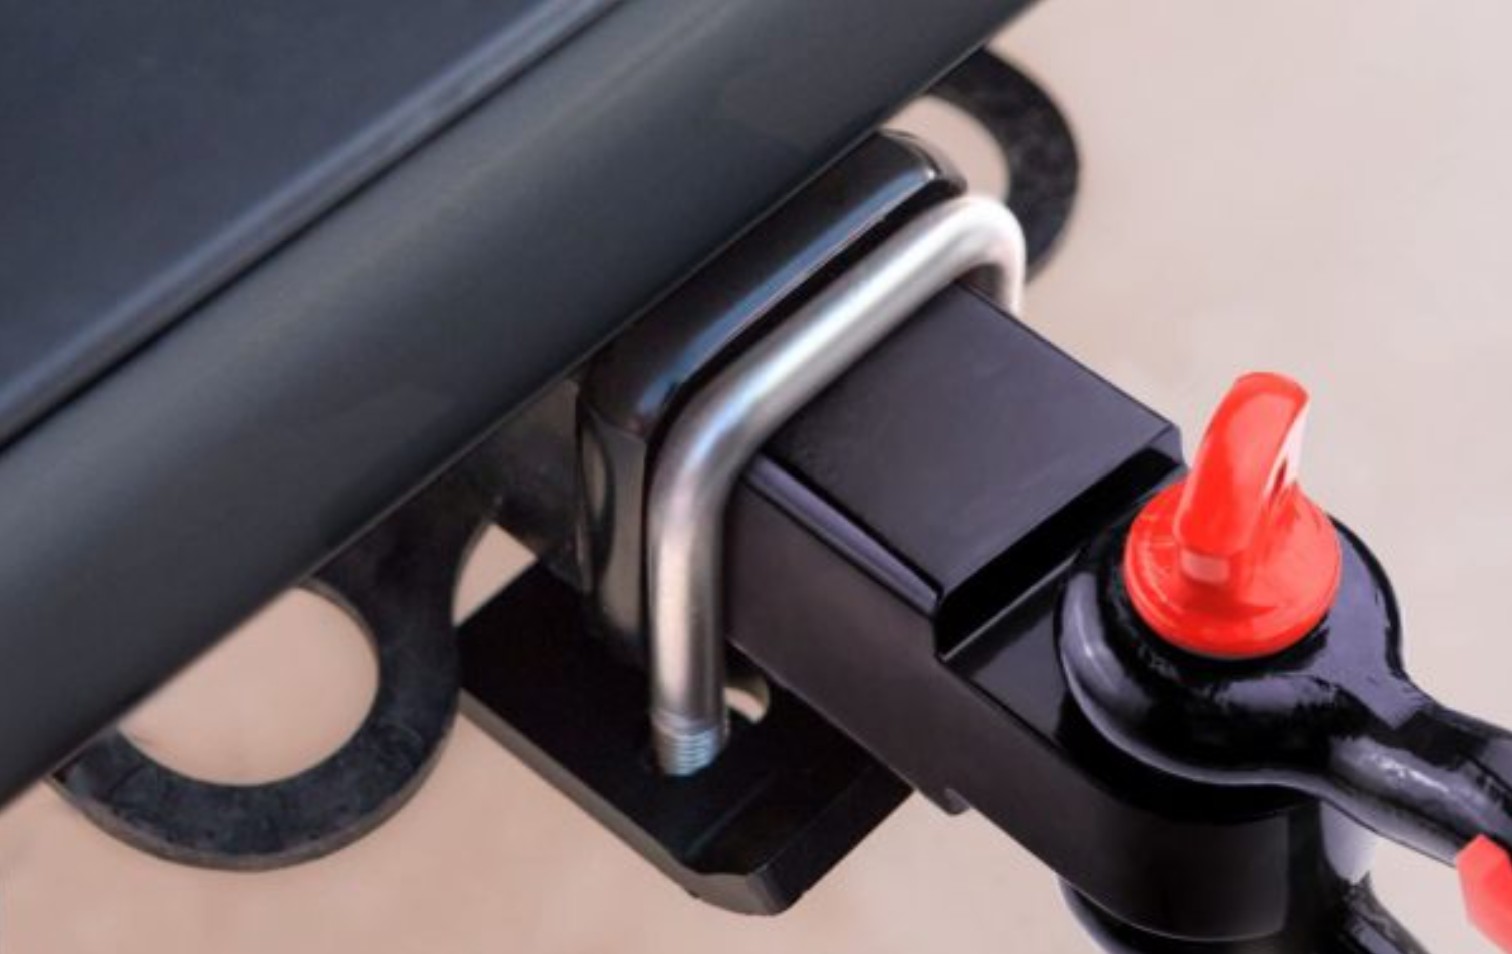
Use a Hitch Tightener
This thing? Total game-changer.
A hitch tightener is a simple U-bolt setup that clamps the rack to the receiver. No more wiggle. No more rattle. It feels like the rack becomes part of the car.
Tiny Tool, Huge Difference
I found out about hitch tighteners from a fellow cyclist in a grocery store parking lot. I was mid-rant about how loud my rack was, and she just casually said, “You using a tightener?” Two clicks and an Amazon order later—I was converted.
Why It Works So Well
The tightener forces the rack’s shank against the inner wall of the receiver. No gaps, no movement. It’s a small thing, but it fixes a huge problem.
|
Pros |
Cons |
|---|---|
|
Super easy to install |
Needs occasional tightening |
|
Budget-friendly |
Can rust if untreated |
|
Works with most racks |
Some hitches may not fit it |
Quick Tip from the Road
Go for one with a rust-resistant finish. My first one looked like it had aged ten years after two rainy trips. Spend the extra few bucks—it’ll save you later.
Tighten All Bolts and Connections
I know, I know. This sounds like a no-brainer. But you’d be amazed how often people skip it.
Loose bolts can turn your ride into a mobile percussion show. Worse? They can work their way out mid-drive. That’s a nightmare you don’t want.
The Pre-Drive Ritual I Swear By
What to Check—Every. Single. Time.
-
Hitch pin or bolt
-
Folding arms or trays
-
Wheel holders
-
Any knob, latch, or clamp
I keep a small wrench in my glove box. After loading up, I do a quick lap around the rack—tighten here, tug there. Takes two minutes, saves a ton of stress.
|
Part |
Common Problem |
Quick Fix |
|---|---|---|
|
Hitch Pin |
Wears out, gets loose |
Replace or upgrade to lock |
|
Wheel Tray Bolts |
Rattle loose |
Add thread locker |
|
Tilt Mechanism |
Doesn’t stay in place |
Check angle, re-secure |
If you can hear something rattle by hand, trust me—it’ll be ten times louder on the highway.
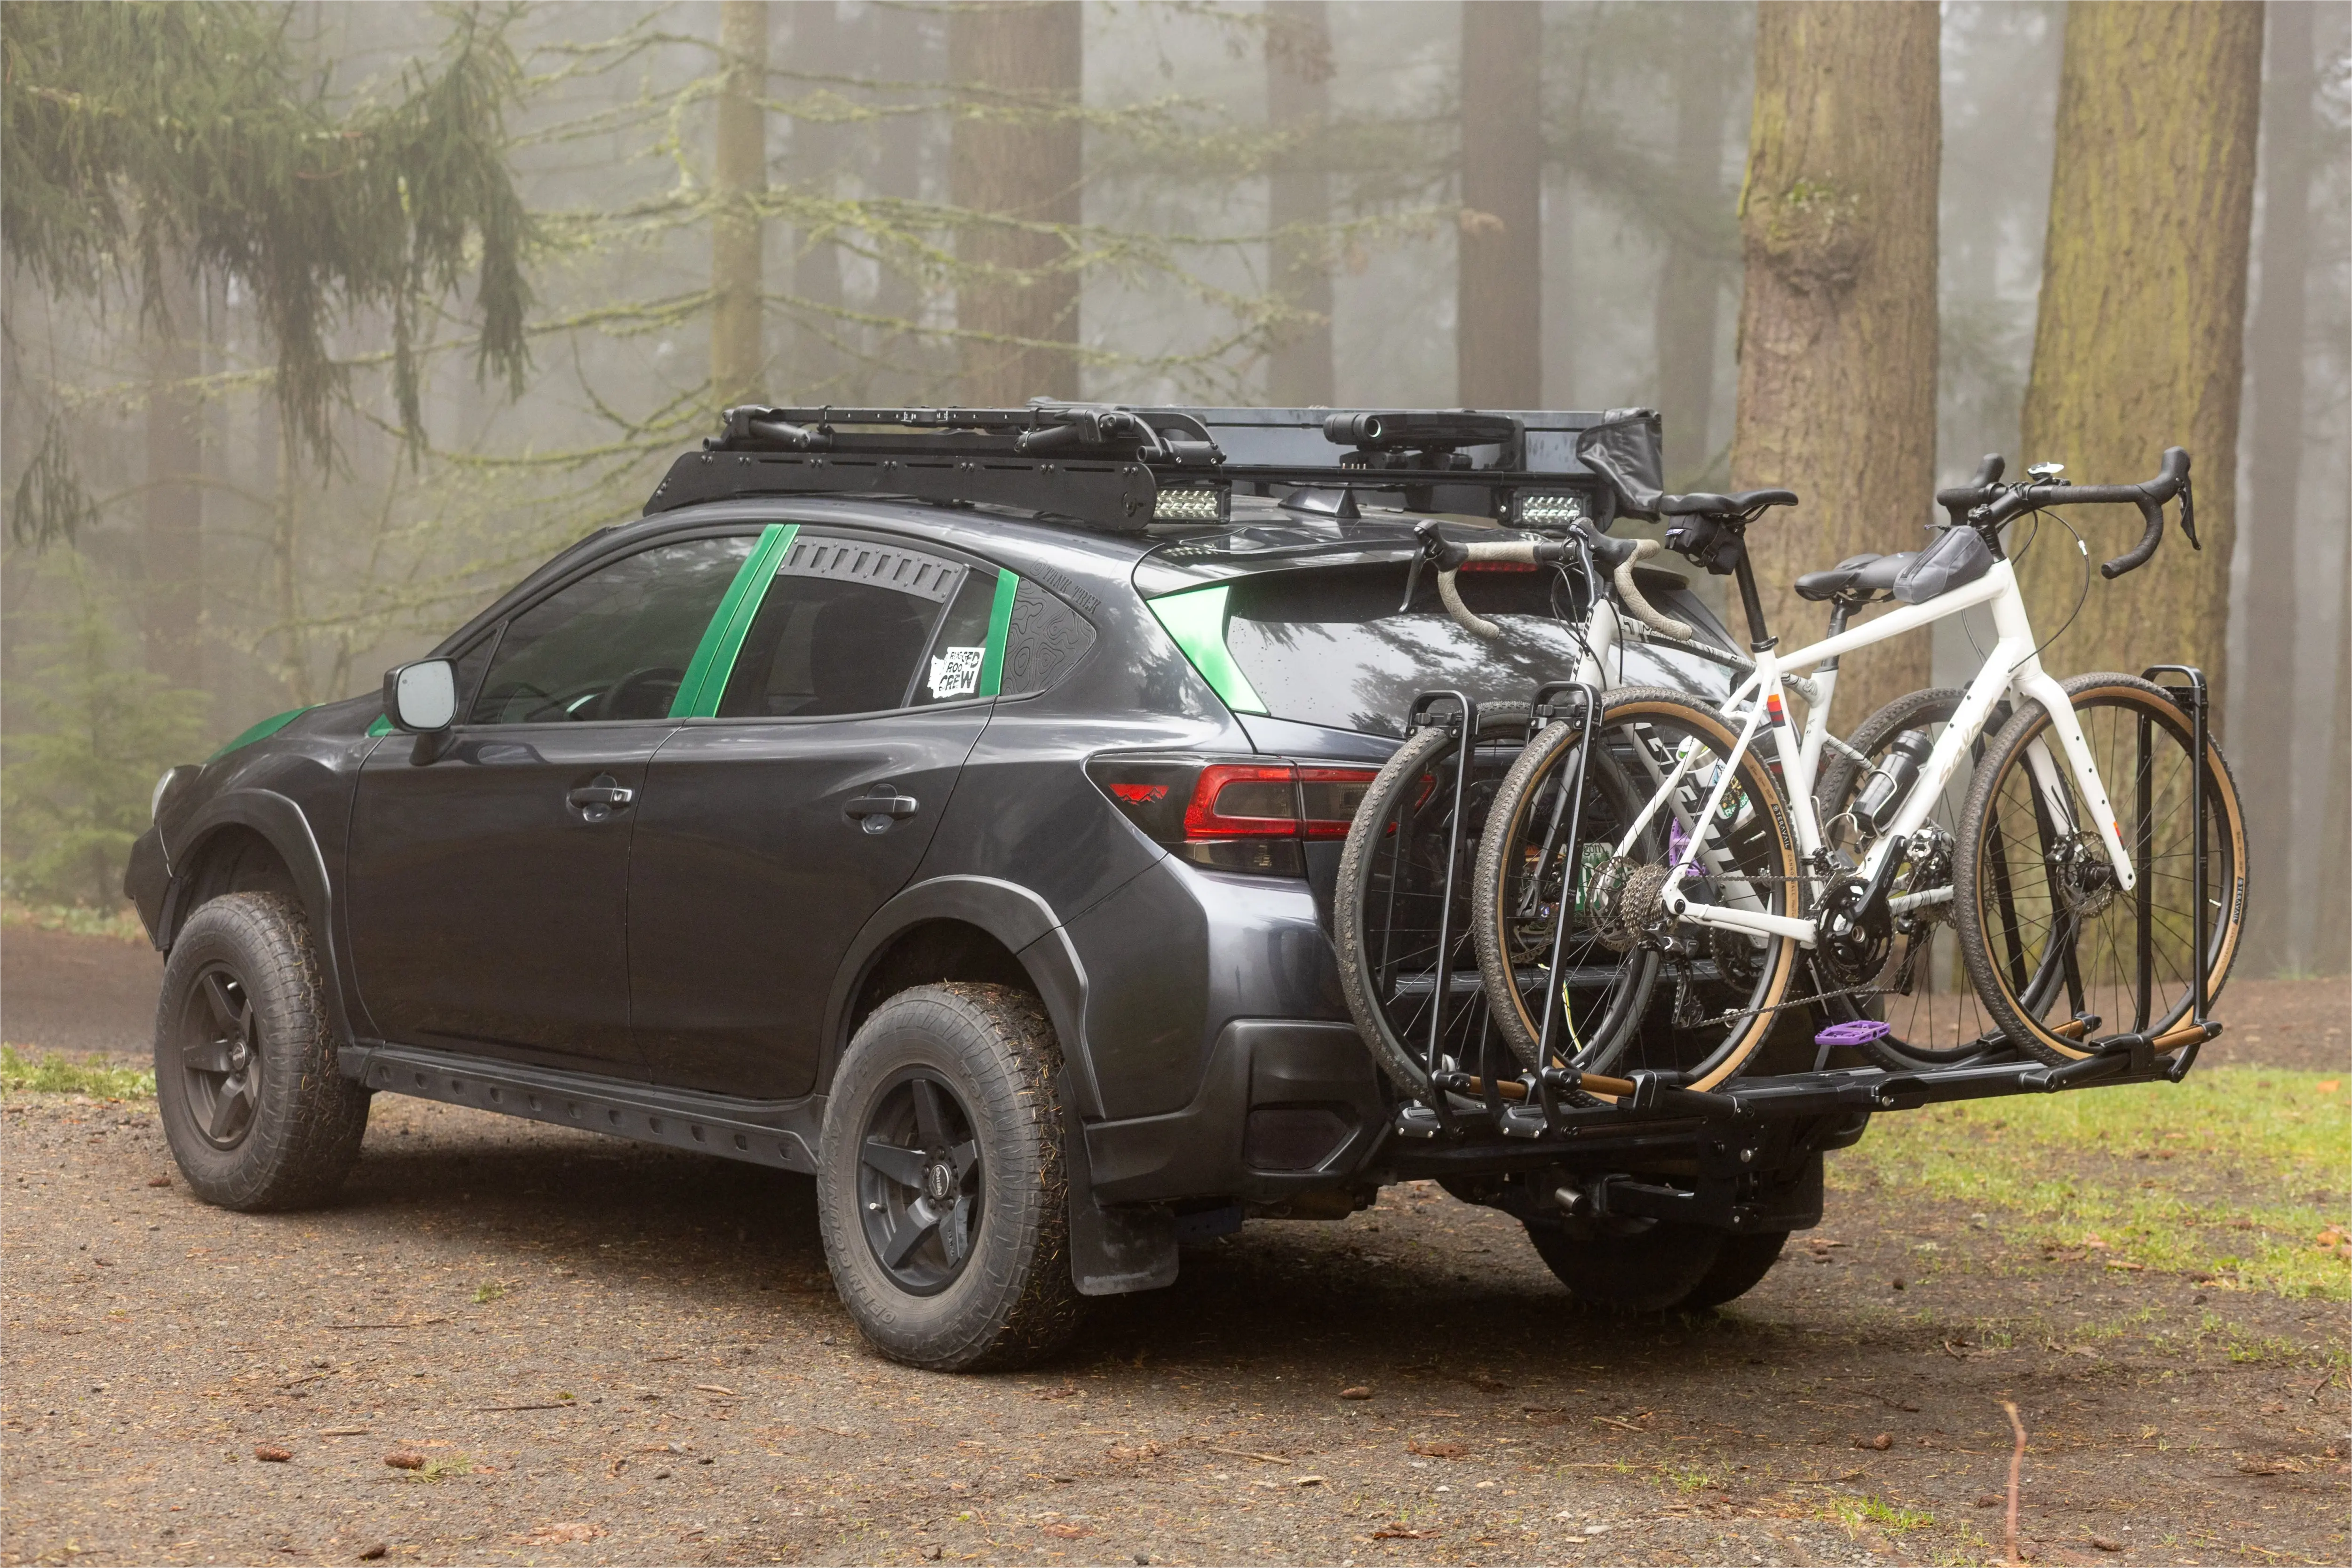
Secure Your Bikes Properly
Even if your rack is tight, loose bikes will still make a racket.
Use every strap, clamp, and holder you’ve got. Don’t leave it half-done just because you’re in a rush. I’ve done that—and I paid for it in scratches and stress.
Don’t Just Strap—Balance
What Went Wrong (A Personal Fail)
Once, I only strapped down the front wheels. By mile ten, the bikes were swaying like crazy. They clanged into each other, and the frames got chipped. Lesson learned.
What You Should Actually Do
-
Secure both wheels
-
Use frame clamps properly (don’t crush your carbon!)
-
Add a bungee if anything still wiggles
-
Put the heaviest bikes closest to the car
|
Bike Type |
Where to Place It |
|---|---|
|
Mountain |
Closest to car—heaviest |
|
Road |
Further out—lighter |
|
Kids' |
Middle—awkward shape, low weight |
Before you hit the road, give each bike a good shake. If anything moves more than an inch, fix it. Better safe than sorry.
Add Some Padding or Foam
Yep, padding. Sounds basic, but it works wonders.
Foam, rubber, old cloth—it helps stop bikes from banging into each other or the rack. It also cuts down vibration that causes noise.
Low-Tech Fixes That Just Work
Where to Stick the Padding
-
Between the rack shank and receiver
-
Around frame clamps
-
Between bike frames if they touch
One time, I shoved a gym sock between two handlebars that kept tapping. It looked ridiculous. But it worked like magic—and cost me nothing.
|
Material |
Use It Here |
Extra Tip |
|---|---|---|
|
Pool Noodle |
Between bikes or trays |
Cut it in half, zip-tie it |
|
Rubber Sheet |
Receiver contact points |
Stops clanking instantly |
|
Old Towel |
Around clamps or bars |
Prevents scratches, cheap fix |
These quick hacks don’t just reduce noise—they save your gear. Bonus: You don’t have to listen to that dreadful “ping” sound all drive long.
Conclusion
I used to think hitch racks were just loud. Turns out, mine was just badly set up. Once I fixed the fit, tightened everything, used a stabilizer, and padded the right spots—it all changed. Now the rides are silent, smooth, and a whole lot less stressful.
And hey, if you’re reading this because your rack sounds like a drum kit—trust me, these fixes work. Try them. You’ll never look back (except in the rearview, just to admire how solid your setup is).